
September 25, 2019
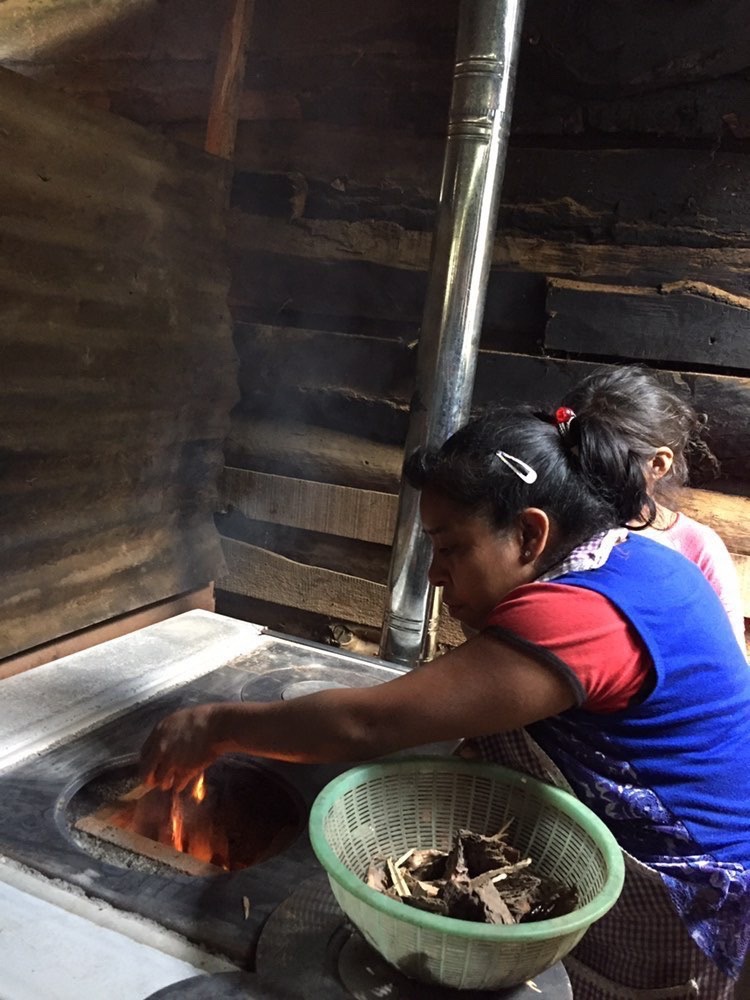
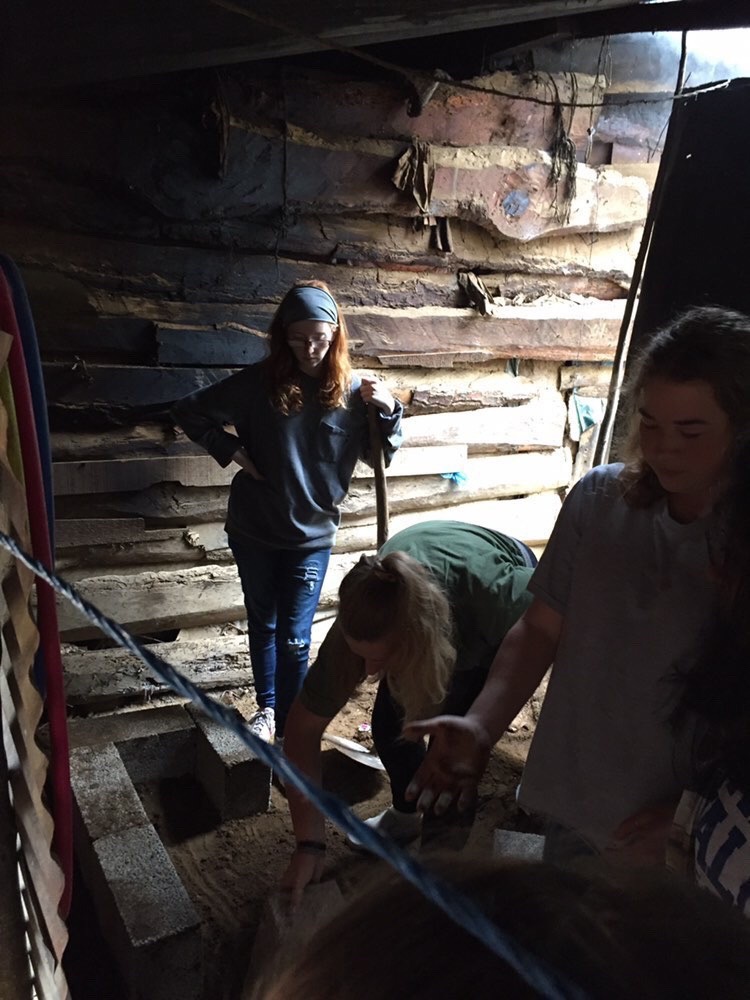
Yesterday we installed a stove. First we put a foundation of six cinderblocks face-up, trying to make it as level as possible. On top of that we put another layer of blocks face-down and overlapping the first. After the two layers of cinderblocks we put on the main body of the stove. Inside the body we carefully assembled the fire-box. After the fire-box was in place we filled the body with river rock. With the river rock we made a ramp to funnel the smoke to the back of the stove and the chimney. The chimney consists of five or so parts. All the parts are metal and include and elbow that connects directly to the stove, two long pipes, the “hat”, and a metal wire sleeve, and sometimes we’ll need to add another smaller piece of pipe. The diameter is about 4”-5” for all the chimney. After we are done with the river rock we put a layer of ash on top of the rock to help seal in the smoke. Once that is done we place the actual stove-top on.
Now we use a plumb-line to figure out where to cut the hole in the ceiling. Once that is done we can make the hole for the chimney. The way we do this is by standing on the stove and using a hammer to hit a curved knife through the ceiling following the outline we made. When that’s done we put the chimney together and are almost completely done with the stove. The last step is to seal the gap between the stove-top and the body of the stove with ash.


